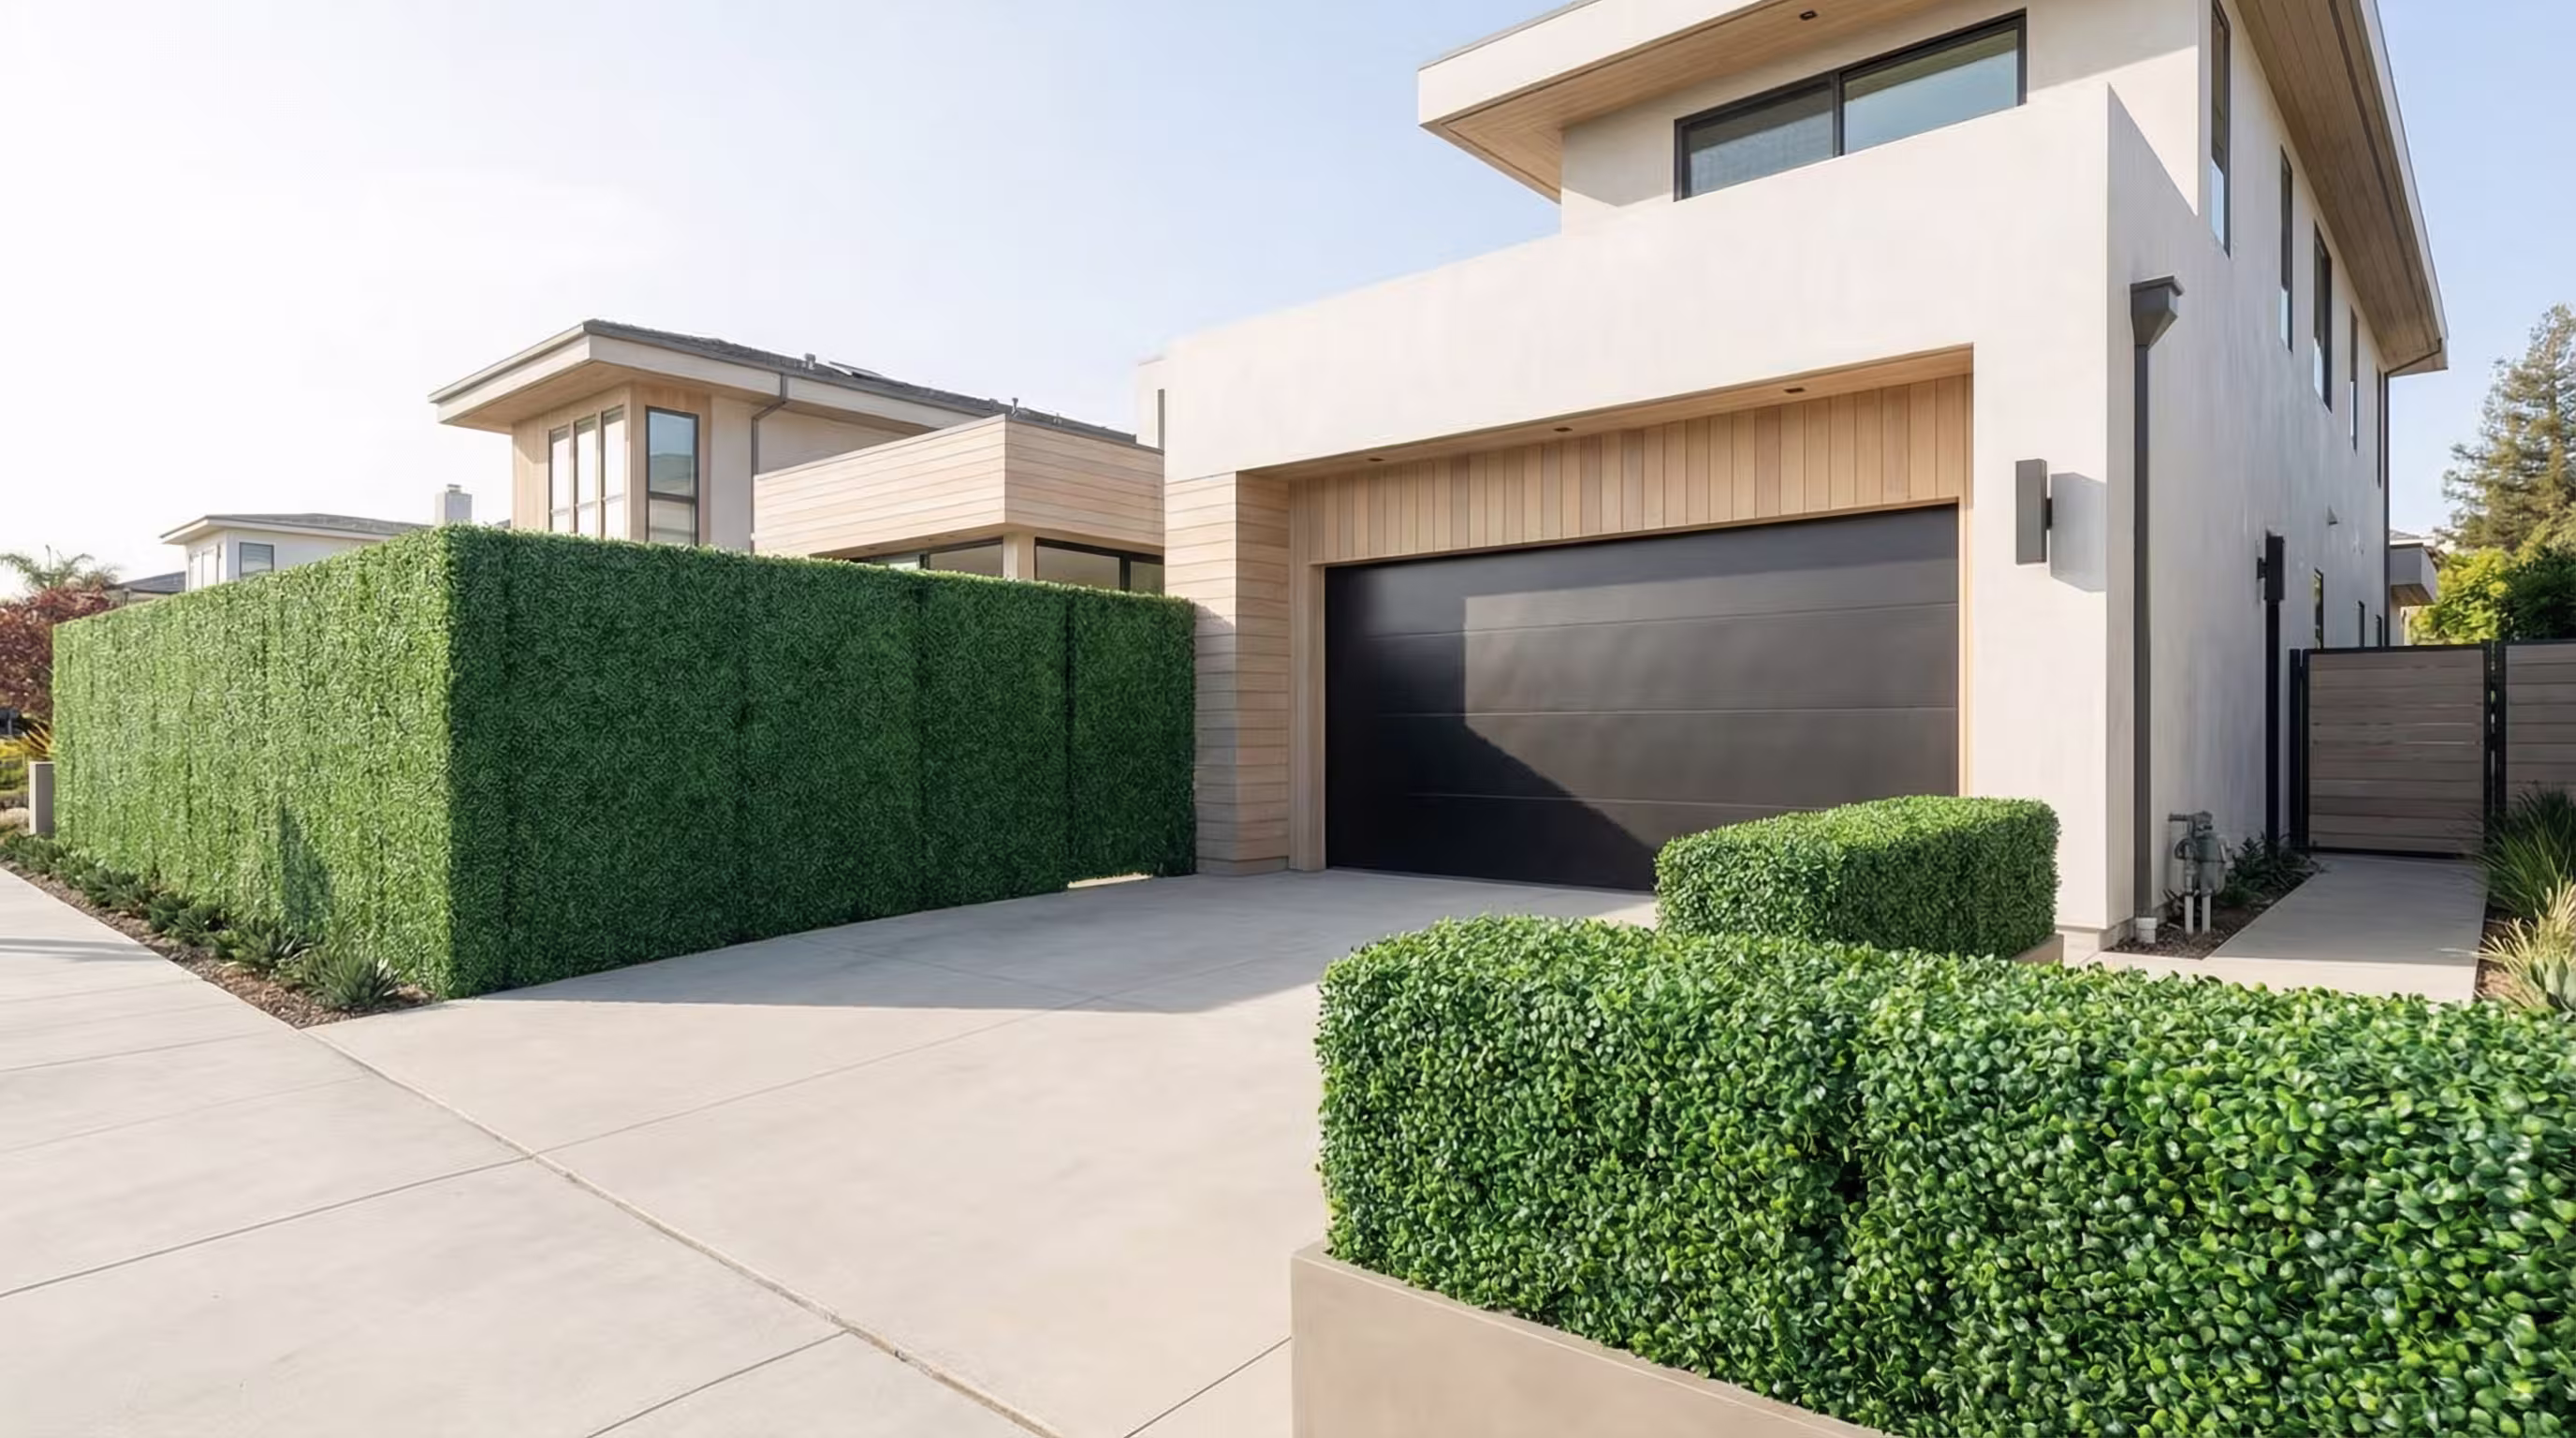
You spent good money on artificial hedges to get that perfect privacy solution. But three months later, you’re staring at something that screams “fake” from across the yard.
Here’s the thing – most artificial hedges don’t fail because of the product itself. They fail because of installation mistakes that are completely avoidable if you know what to watch for.
Mistake #1: Mixing Up Panel Direction
This is the big one that trips up almost everyone doing their first installation.
Artificial hedge panels have a “grain” – the direction the synthetic foliage leans. Install some panels facing north and others facing south, and you’ll get this weird patchwork effect where sections look different colors in the sunlight.
The fix: Before you fasten anything, lay all your panels out and make sure the foliage all leans the same direction. Most panels have an arrow or marking on the back to show the proper orientation.
Pro tip: Take a photo of your first panel once it’s positioned correctly, then use that as reference for the rest.
Mistake #2: Leaving Gaps Between Panels
Nothing screams “artificial” like being able to see the mounting surface through gaps between hedge panels.
This usually happens because people rush the measuring phase or try to stretch panels to cover more area than they should. You end up with these obvious vertical lines where panels meet.
The fix: Order slightly more coverage than you think you need. It’s better to trim a panel than to stretch them apart. When connecting panels, overlap edges slightly rather than butting them together.
Real talk: This is where cheap panels really show their weakness. Quality panels are designed to connect seamlessly, but budget ones often have uneven edges that make gaps inevitable.
Mistake #3: Using the Wrong Fasteners for Your Surface
We see this constantly – people using wood screws on metal fences, or trying to staple into concrete.
For wooden fences: Staples or galvanized nails work great. Just don’t go crazy – one fastener every 6-8 inches is plenty.
For chain link: Cable ties are your friend. They’re removable if you need to adjust, and they won’t damage the fence.
For concrete or stucco: You need a wire grid system first. Don’t try to drill directly into the wall – you’ll crack the hedge panels and probably the wall too.
For vinyl fencing: This one’s tricky because you can’t nail into it. Use clips designed for vinyl, or install a mounting strip first.
Mistake #4: Ignoring UV Protection
Six months from now, do you want hedges that still look green or ones that have faded to a sickly yellow?
Not all artificial hedges are created equal when it comes to UV resistance. Some manufacturers use UV inhibitors throughout the material, others just spray it on the surface (which wears off quickly).
What to look for: Ask specifically about UV testing. Quality manufacturers will have test reports showing their products can handle years of Southern California sun without fading.
Red flag: If the seller can’t tell you specifics about UV protection, that’s probably because there isn’t much.
Mistake #5: Poor Surface Preparation
This is where DIY installations really go wrong.
Installing artificial hedges on a dirty, uneven, or unstable surface is like putting expensive paint over a moldy wall. It might look okay for a few weeks, but problems will show up fast.
Clean the surface first. Remove old nails, screws, rust, or flaking paint. If you’re mounting to chain link, check that the fence is stable and not sagging.
Check for level. If your fence leans, your hedge will lean too. Sometimes it’s worth fixing the underlying issue before adding the hedge.
Consider drainage. If water pools against your fence during rain, it can cause problems with the mounting system over time.
The Installation Reality Check
Here’s what most people don’t realize: the installation matters more than the product quality.
You can buy the most expensive artificial hedges available, but if you install them wrong, they’ll look worse than budget hedges installed correctly.
On the flip side, proper installation can make mid-range products look absolutely premium.
When to Call in Professionals
Some installations are perfect for DIY – a small section of chain link fence, a balcony privacy screen, stuff like that.
But if you’re dealing with:
- Long runs (50+ feet)
- Multiple fence types
- Commercial properties
- Concrete or brick surfaces
- Fire safety requirements
It’s often worth having professionals handle it. The cost difference isn’t as much as you’d think, and you get it done right the first time.
Getting the Best Results
The secret to artificial hedges that don’t look fake? Pay attention to the details.
Take time with the planning. Use the right tools for your surface type. Don’t rush the installation just to get it done over the weekend.
And remember – even the best installation won’t fix a poor-quality product. Start with artificial hedges that are designed to last in Southern California’s climate, then install them properly.
Thinking about artificial hedges for your property but want to make sure they’re installed right? We’ve done thousands of installations across Southern California and know exactly what works (and what doesn’t) for different fence types and situations. Get in touch for a consultation – we’ll walk through your specific setup and explain your options, whether you want to tackle it yourself or have us handle the installation.
Looking for Real looking Artificial boxwood hedges for your next event? Contact Evergreen Event Rental today.